For those of us who live in the northeast, the next three or four months are beach season. I spent seven years as a child living in Guam and Hawaii, where “beach season” was a year-round occasion. I was also a horror movie buff (even at a young age), which means any time I entered the ocean, my mind raced with images of a giant great white shark stalking me, ready to chomp off one of my skinny legs and use it as a toothpick.
In honor of man-eating shark movies, I’ve decided to carve a watermelon shark. Oddly enough, I found the experience of carving a shark to be somewhat therapeutic. Of course, it helped that I was chopping off parts and eating it as I carved it.
MATERIALS NEEDED
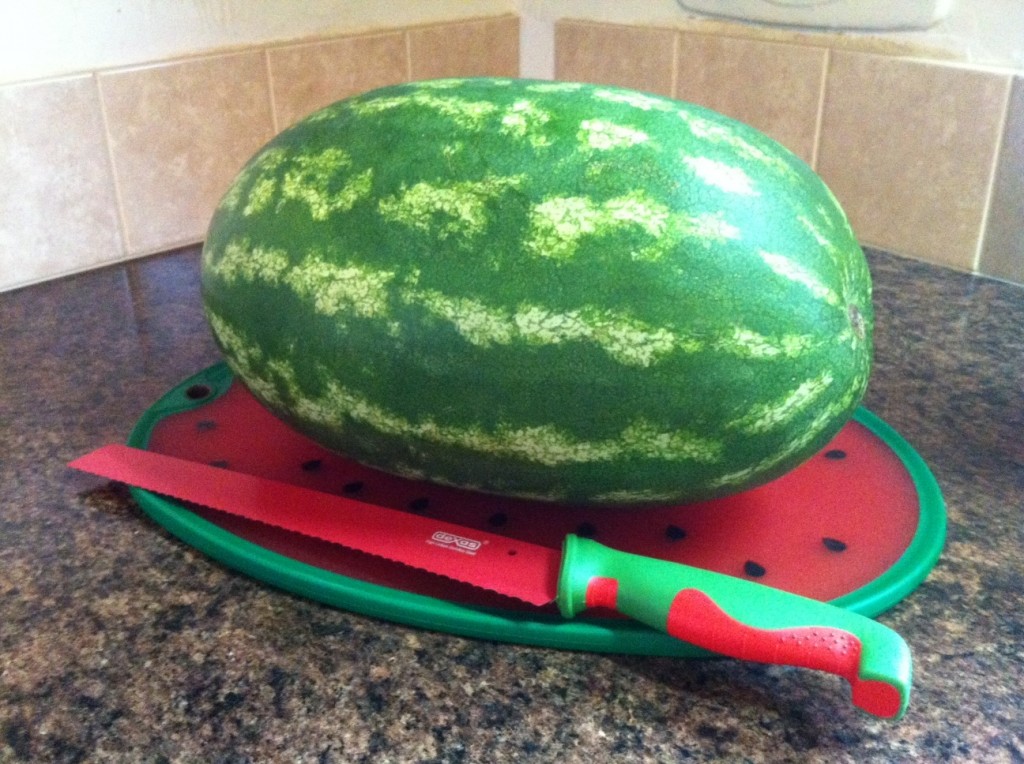
1 oblong, seedless watermelon
Dry erase marker
Large knife
Smaller utility knife
Large spoon
Paring knife (you can use the tip of a vegetable peeler)
2 blueberries (or another object for the eyeballs)
Toothpicks or wooden skewers
Swedish fish candies for garnish (optional)
Thoroughly wash and dry the watermelon. I shouldn’t have to include this step, but it’s important and often overlooked, so get used to seeing it on every monthly carving. If you like the watermelon knife and cutting board in the photo, check back on Monday. I’ll be giving away both items as our June prize to one commenter chosen at random.
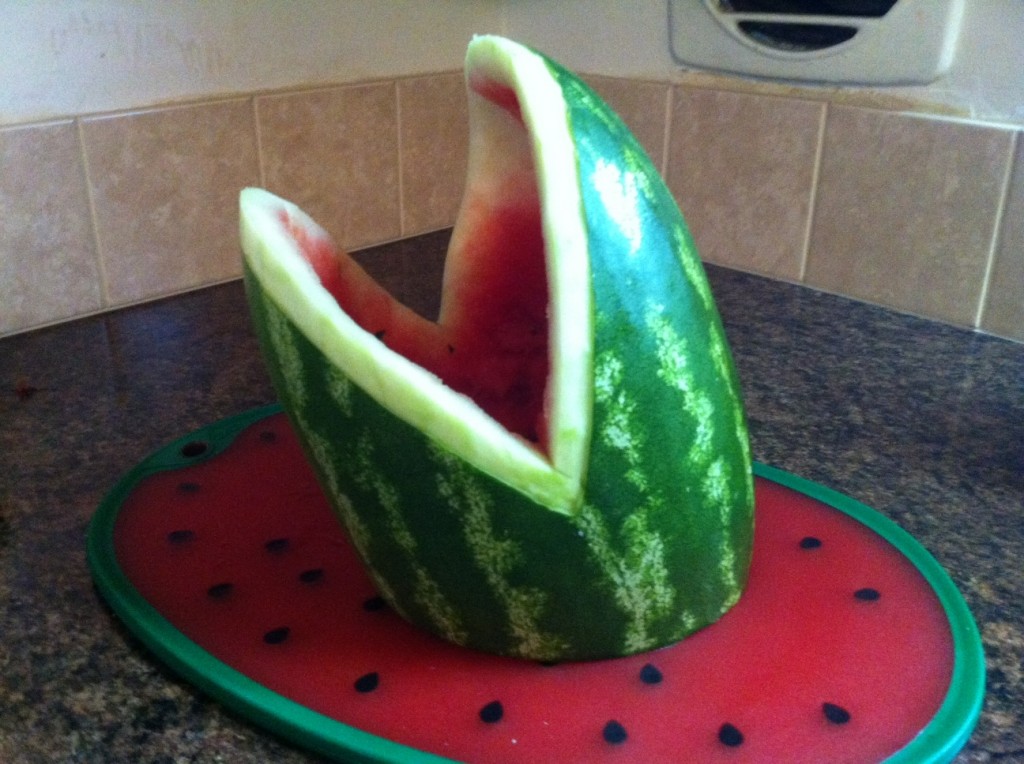
Cut off the bottom third of the shark at a slight angle, so that the shark leans forward. It took me a little while to figure out which direction to cut the angle. Here’s a tip: lay the watermelon shark flat on its belly and, cutting from the top, slice down and toward the front. Again, only slightly.
Draw and cut the mouth. Use your spoon to carve out the flesh inside, leaving about two inches of flesh in the bottom. Finally, take your paring knife and cut a line about half an inch back from the edge of the mouth hole. The cut should be shallow – just under the surface of the green rind. Then use the paring knife to carve off the green rind around the edge of mouth, back to the line you just cut. This part will take a little while (about 15 minutes).
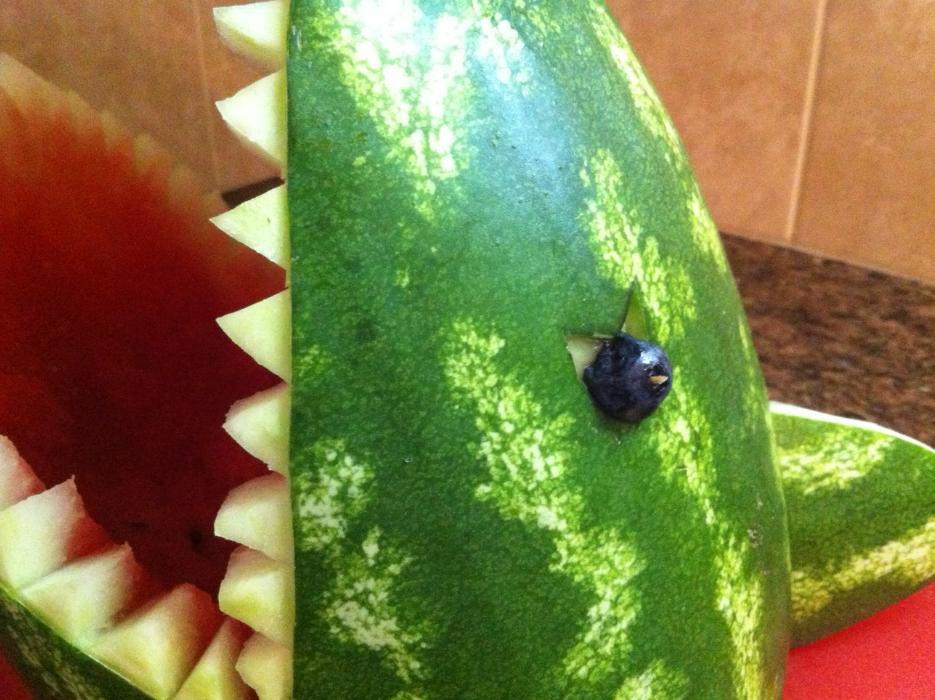
Use the paring knife to create a nice set of a pointy shark teeth. Also carve out an eye hole – about 1/4 inch deep – and place your blueberry inside (held in place with a toothpick, which doubles as the center of the eyeball). If you don’t have blueberries, feel free to use a rounded piece of red watermelon flesh.
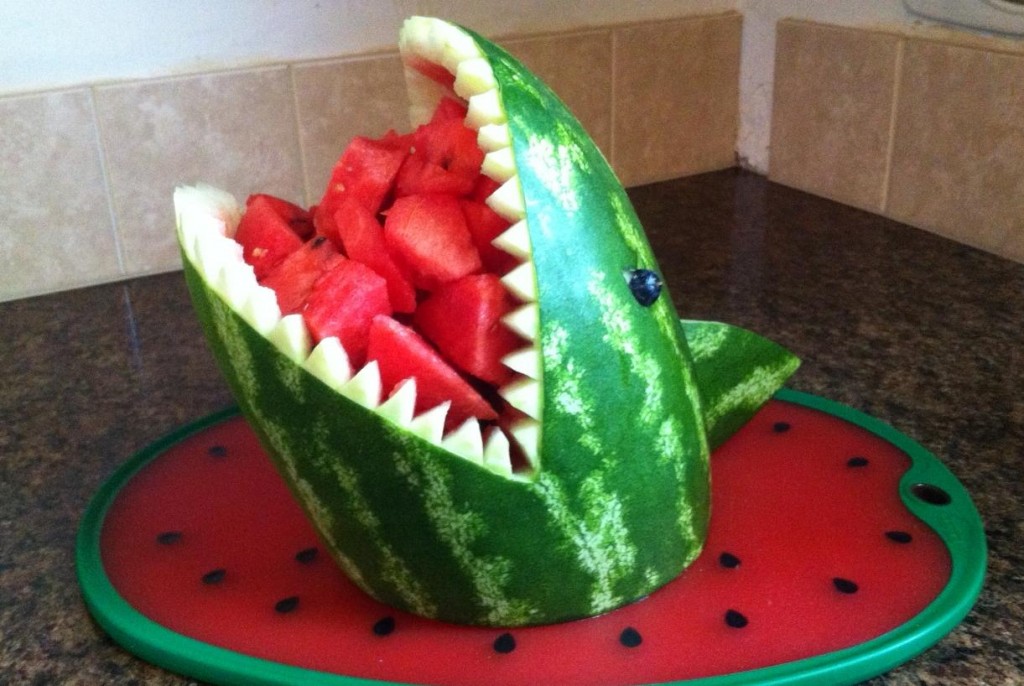
Using a piece of rind removed from the mouth area, carve a dorsal fin (you might have to make the bottom slighted rounded inward so it fits nicely on the back of the watermelon). Affix the fin to the back using two toothpicks.
Fill your non-threatening watermelon shark with chunks of watermelon. Feel free to also include Swedish fish candies or any small toy action figures you may have lying around the house.
View Comments (42)
Good job! This looks amazing!
That is one super duper shark. I also like the platter it’s on. I saw watermelon in my local store. Yummy, yummy can’t wait to taste some.
Two of my favorite things in the world: watermelon and swedish fish. YUM!
Fantastic! I must do this for the next family picnic. Thanks for the tips on how to re-create this!
I was at a party yesterday and the watermelon was served in a watermelon shark just like this one. Everyone was exclaiming over how cute and fun it was. It’s a terrific way to add a little laughter to a summer get together and it’s a wonderful conversation piece as well. Thank you for the “how to” instructions. I’ll be trying this myself this summer with the grandkids :)
Thanks for the compliments! I’m still trying to figure out what I’ll carve next month, but whatever it is, I know it’ll be fun!
This shark is so clever! I am going to get three watermelons tomorrow and give this a try. You ask, “Why so many?” Well, I’ve never done anything like this before so I’m fairly certain my 1st attempt won’t be as cute as yours. But never fear! Any watermelon chunks left over will be used for sorbet and summer drinks. I am so jazzed to do this for my family … so thank you for the great way you explained the steps in the creation of your scary shark. :)
Going to a pot luck party tomorrow – will be trying this out! Thanks for the great instructions!
Happy Aloha Friday!!
I love this. With your instructions I’m going to try it. I’m a Guam and The Trust Territory baby myself. I wonder if we ever crossed paths swimming in that beautiful ocean?
I love this idea. I am going to a potluck on Saturday and will try carving a watermelon shark. I want to use olives for eyes. No matter what it should make my new friends smile!